Not too long ago I came across the Sólás Caomh pattern by Jodi Euchner in an Interweave Crochet magazine. I became enthralled with crochet cabling. Most people think of knitting and the “scary” extra needle. But I had to learn how to do this wonderful new technique, but not in a baby blanket size, on a blanket that would fit a 6’1″ man – this had potential disaster written all over it. My knitting/crochet class was a little skeptical of my plan (they often are, but most times, it’s valid) but they still helped me tinker some pattern adjustments and the tricky new stitches.
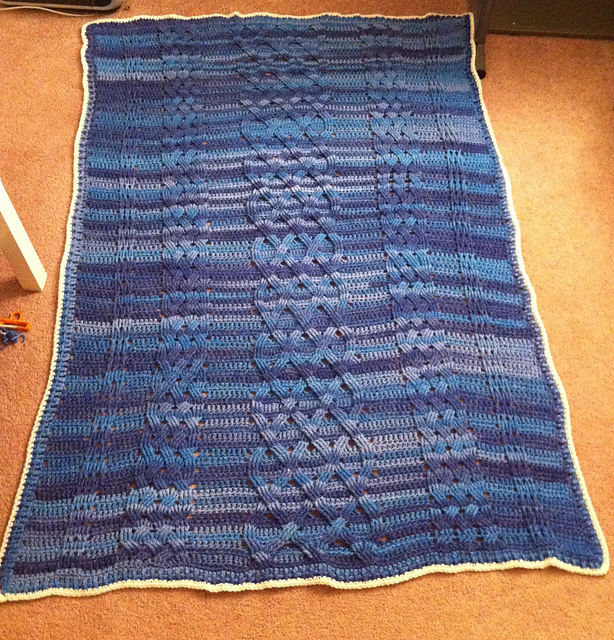
The Manly Blanket
I decided to use a J hook (6 mm) and bulky weight yarn. I picked out a Clover “Soft Touch” crochet hook that’s an ergonomic design and a great price. Let me tell you, this saved me many a painful hour working with the hook. I never had to take a break or slow down because I was doing too much with my hands. It’s high enough up and has a flat neck where you place your thumb and forefinger that makes working with it very comfortable. Mind you, this hook works best if you hold the hook like this:
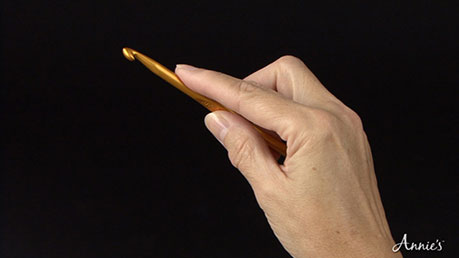
Knife Holding Position
and not like this:

Underarmor position (my own misnomer)
My friend crochets the latter and had a hard time gripping the hook with the ergonomic chunky flat head. (Pictures courtesy of the Crochet World blog.)
Next, I used Ella Rae “Seasons” in color 19. It’s a bulky weight yarn that is “chainette”, which means that it’s not wrapped around itself, but is like an icord or crochet chain of yarn. I liked this style of yarn better, because I had ZERO splitting.
To make a blanket this size, I went up two yarn weights and two hook sizes larger than the pattern, then I added six stitches to the beginning and end of the pattern rows the whole duration of the blanket. This meant I casted on 135 stitches instead of 23 and added six more stitch repeats to the beginning of the row before doing the first cable set.
There are three separate cable types in this pattern and each is a little different. For help understanding how to do a Front Post or Back Post click on the links to understand how it works. Even if you know how to do these stitches, check out the videos anyway, because it’s a dude doing the videos. He has these big beefy hands and you sit there wondering, “This is a work of counter-nature.”
The part that is the hardest to understand in the pattern is FPdc or FPtr behind the stitches you worked, but it’s not a BPdc or BPtr. What this is trying to tell you (but hard to visualize), is you will be working the stitches as a FP, behind the stitches you just worked, but still in FRONT of the body of the project. Crochetme has a blog post all to help you out with this pattern.
To complete the edging I did the first two rows in the same color as the blanket and only used white for the last and final row. I liked the look of it better and called the white accent my “sea foam” to the ocean colored blanket.
Back to work on my knitted sock – don’t judge that I’m not crocheting!
-Stacy C.


